Electric Scooter Battery Not Charging: 7 Fixes That Work
A dead charger light or a scooter that won't power on is usually a simple fix. Here's how to troubleshoot your electric scooter battery not charging, from outlet to BMS, with real voltage numbers and safety steps.
Inhaltsverzeichnis
- First: Understand What "Not Charging" Actually Means
- Step-by-Step Troubleshooting: Electric Scooter Battery Not Charging
- Step 1 — Rule Out the Wall and the Charger
- Step 2 — Inspect the Charge Port and Wiring
- Step 3 — Check the Inline Fuse and Main Discharge Fuse
- Step 4 — Measure the Battery Pack Voltage
- Step 5 — Understand BMS Lockout (The Most Misdiagnosed Fault)
- Step 6 — Cold Weather Charging Problems
- Step 7 — Cell Group Imbalance
- When to Repair vs. Replace the Battery
- Prevention: How to Avoid Charging Problems Entirely
- Follow the 20–80 Rule
- Store at the Right Voltage
- Charge in a Dry, Temperature-Controlled Space
- Don't Leave It Plugged In for Days
- Inspect the Charger Cable Monthly
- Safety Warnings You Should Not Ignore
- Frequently Asked Questions
- Why is my electric scooter charger staying green and not charging?
- How do I reset my scooter's BMS?
- Can I charge my electric scooter in cold weather?
- How long should an electric scooter battery take to charge?
- Is it worth replacing the battery or should I buy a new scooter?
- The Bottom Line
You plug in your scooter, and nothing happens. No light, no fan hum, no charge indicator — just silence. If your electric scooter battery not charging situation has you panicking about a $400 replacement pack, take a breath. In our experience working through hundreds of charging complaints, roughly 60–70% of "dead battery" cases turn out to be a charger, fuse, or connector problem that costs under $40 to fix. Only a minority are genuinely failed cells.
This guide walks you through a logical diagnostic sequence — cheapest and easiest checks first — so you can pinpoint the fault in about 20 minutes with a $15 multimeter. We'll cover charger behavior, wiring faults, BMS lockouts, cold-weather charging, and when it's genuinely time to replace the pack.
First: Understand What "Not Charging" Actually Means
"Not charging" describes at least four different symptoms, and each points to a different culprit:
- Charger LED stays green immediately — the charger thinks the battery is full. Usually a blown fuse, broken charge port, or a BMS that has shut off.
- Charger LED stays red forever (never turns green) — current is flowing but the pack isn't reaching cutoff voltage. Often a weak cell group or a charger with the wrong output voltage.
- No LED at all — the charger itself is dead, the wall outlet is dead, or the charger's internal fuse has blown.
- Charges for a few minutes, then stops — classic BMS over-temperature or over-voltage protection kicking in.
Identify which one you have before you touch anything. It cuts your diagnostic time in half.
Step-by-Step Troubleshooting: Electric Scooter Battery Not Charging
Step 1 — Rule Out the Wall and the Charger
Plug something else into the same outlet (a phone charger, a lamp). Then check the charger's own fuse — many 42V and 54.6V chargers have a small glass fuse inside the housing, accessible by removing four screws. A replacement is about $1.
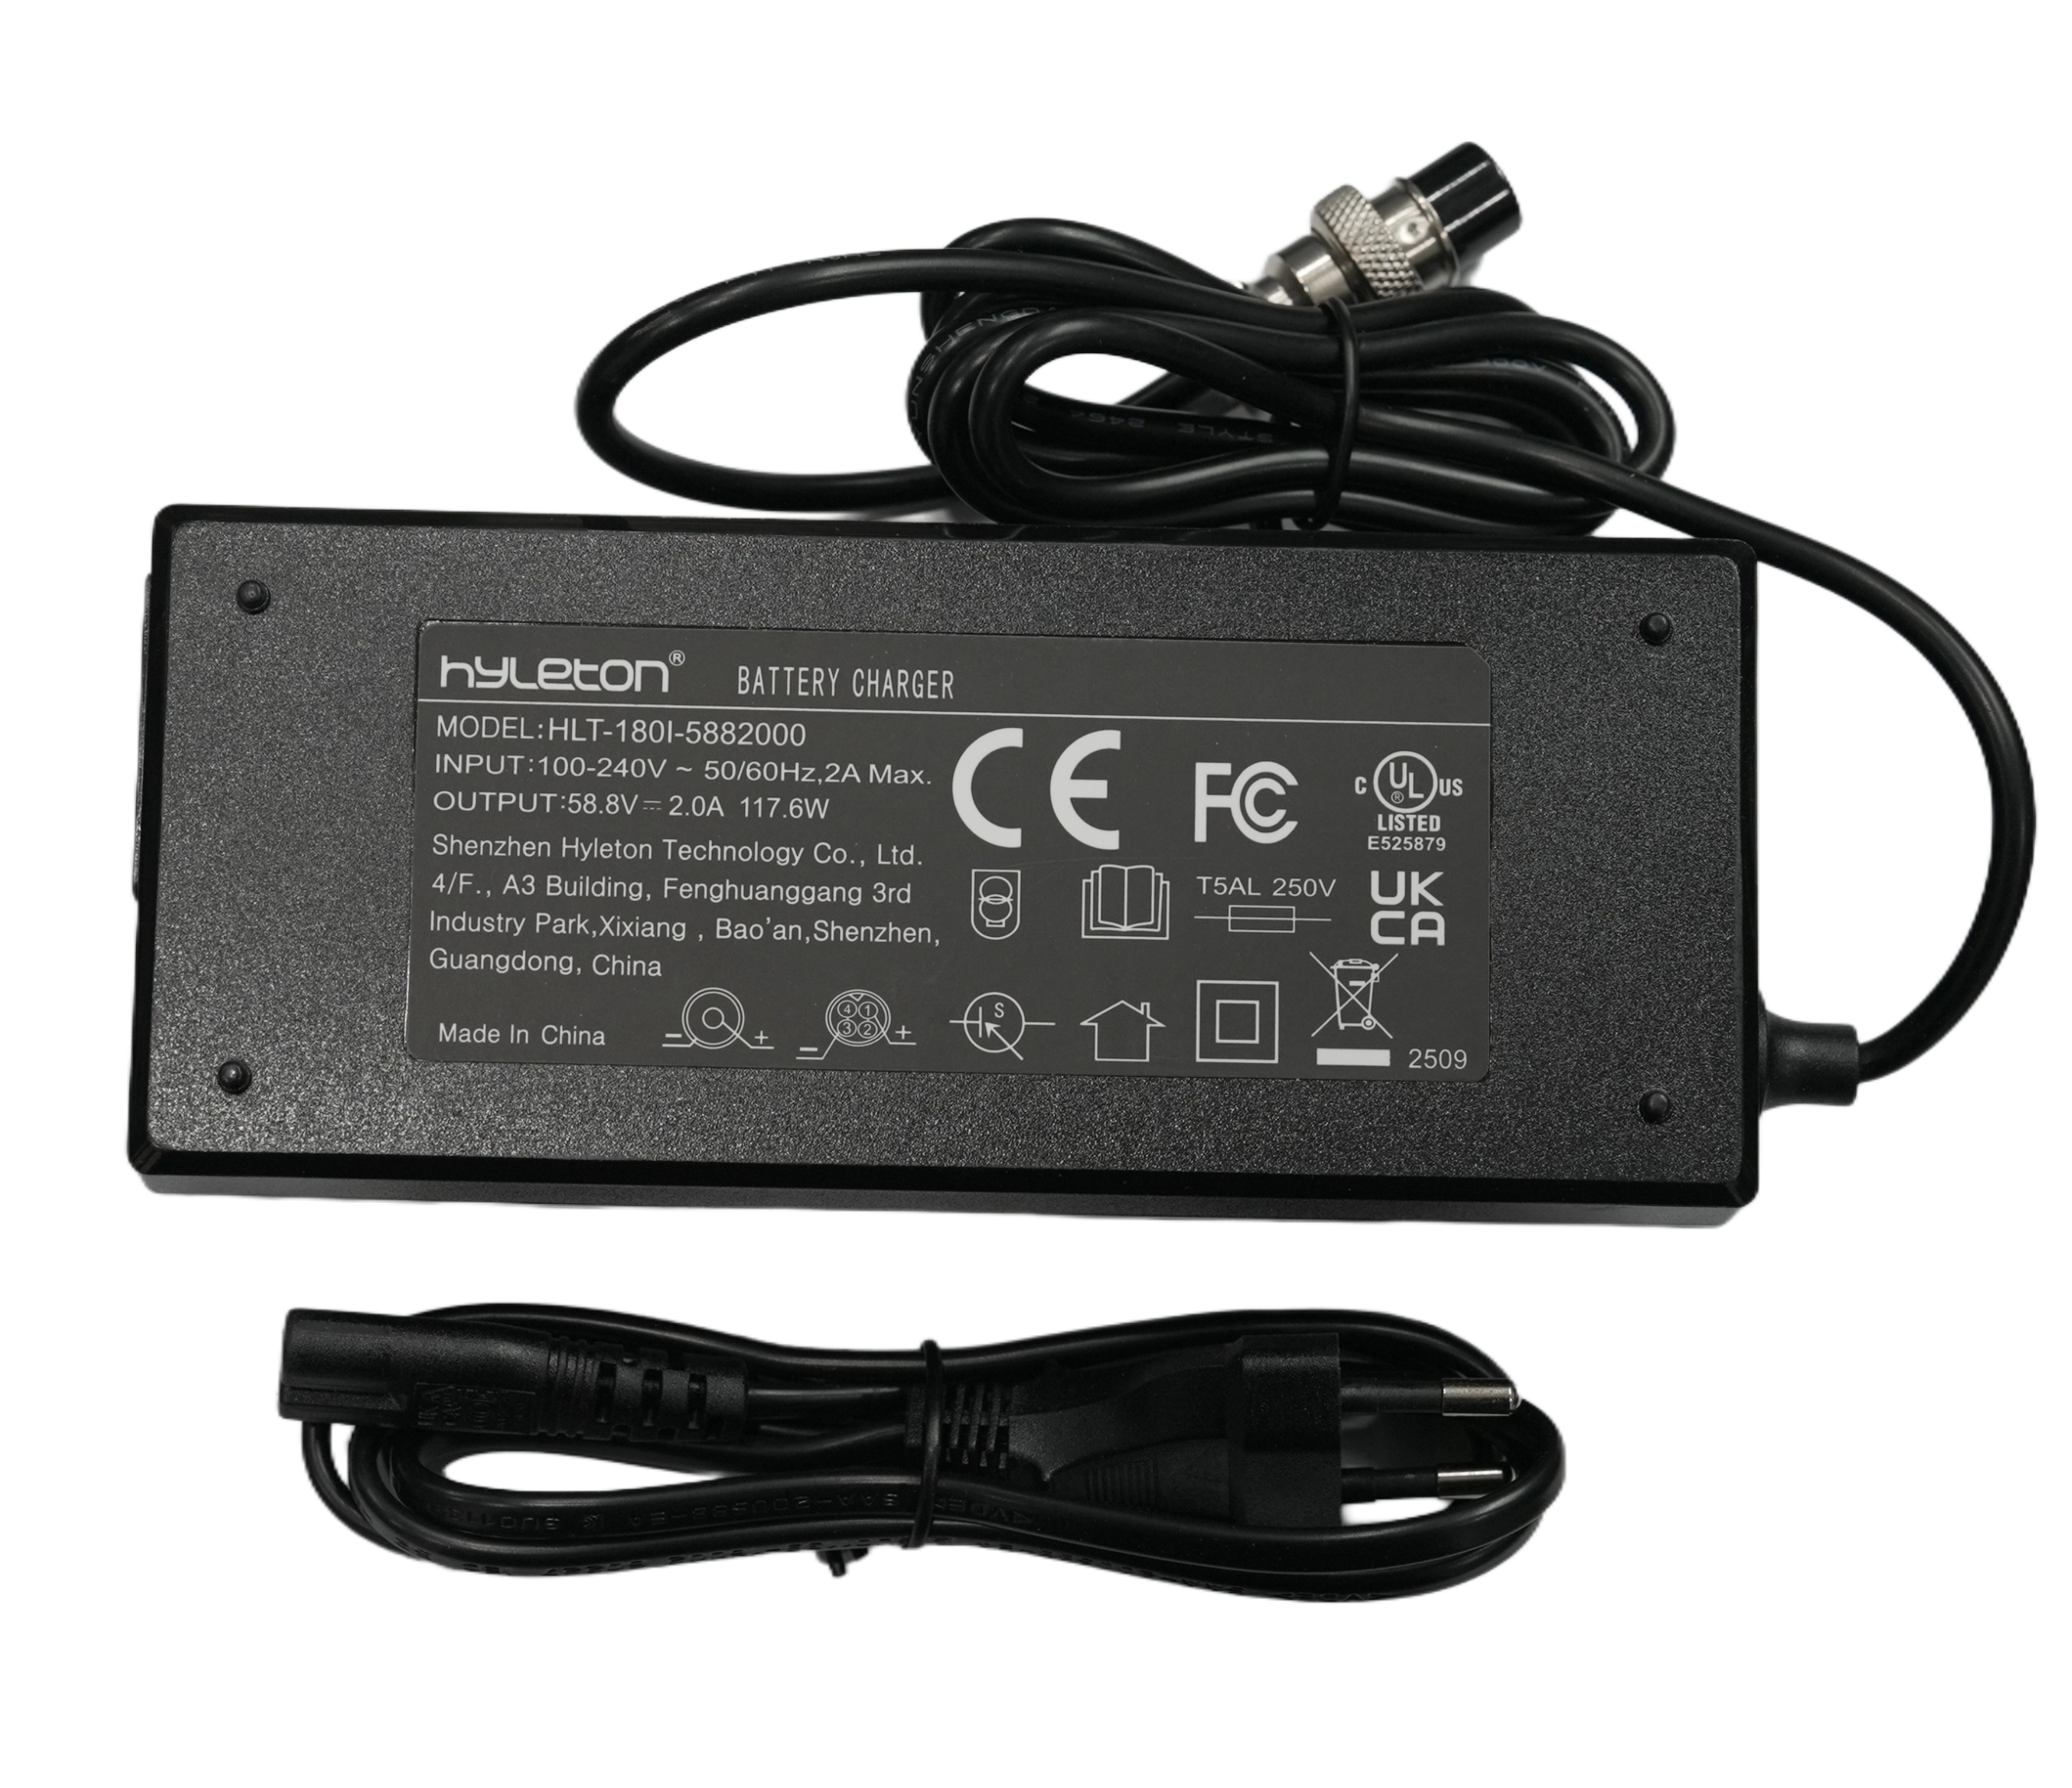
Next, test the charger's output. Set your multimeter to DC voltage, probe the barrel connector (center pin positive, sleeve negative), and read the voltage:
- 42V charger (36V scooters) should read 42.0–42.5V
- 54.6V charger (48V scooters) should read 54.4–54.8V
- 58.8V charger (52V scooters) should read 58.5–59.0V
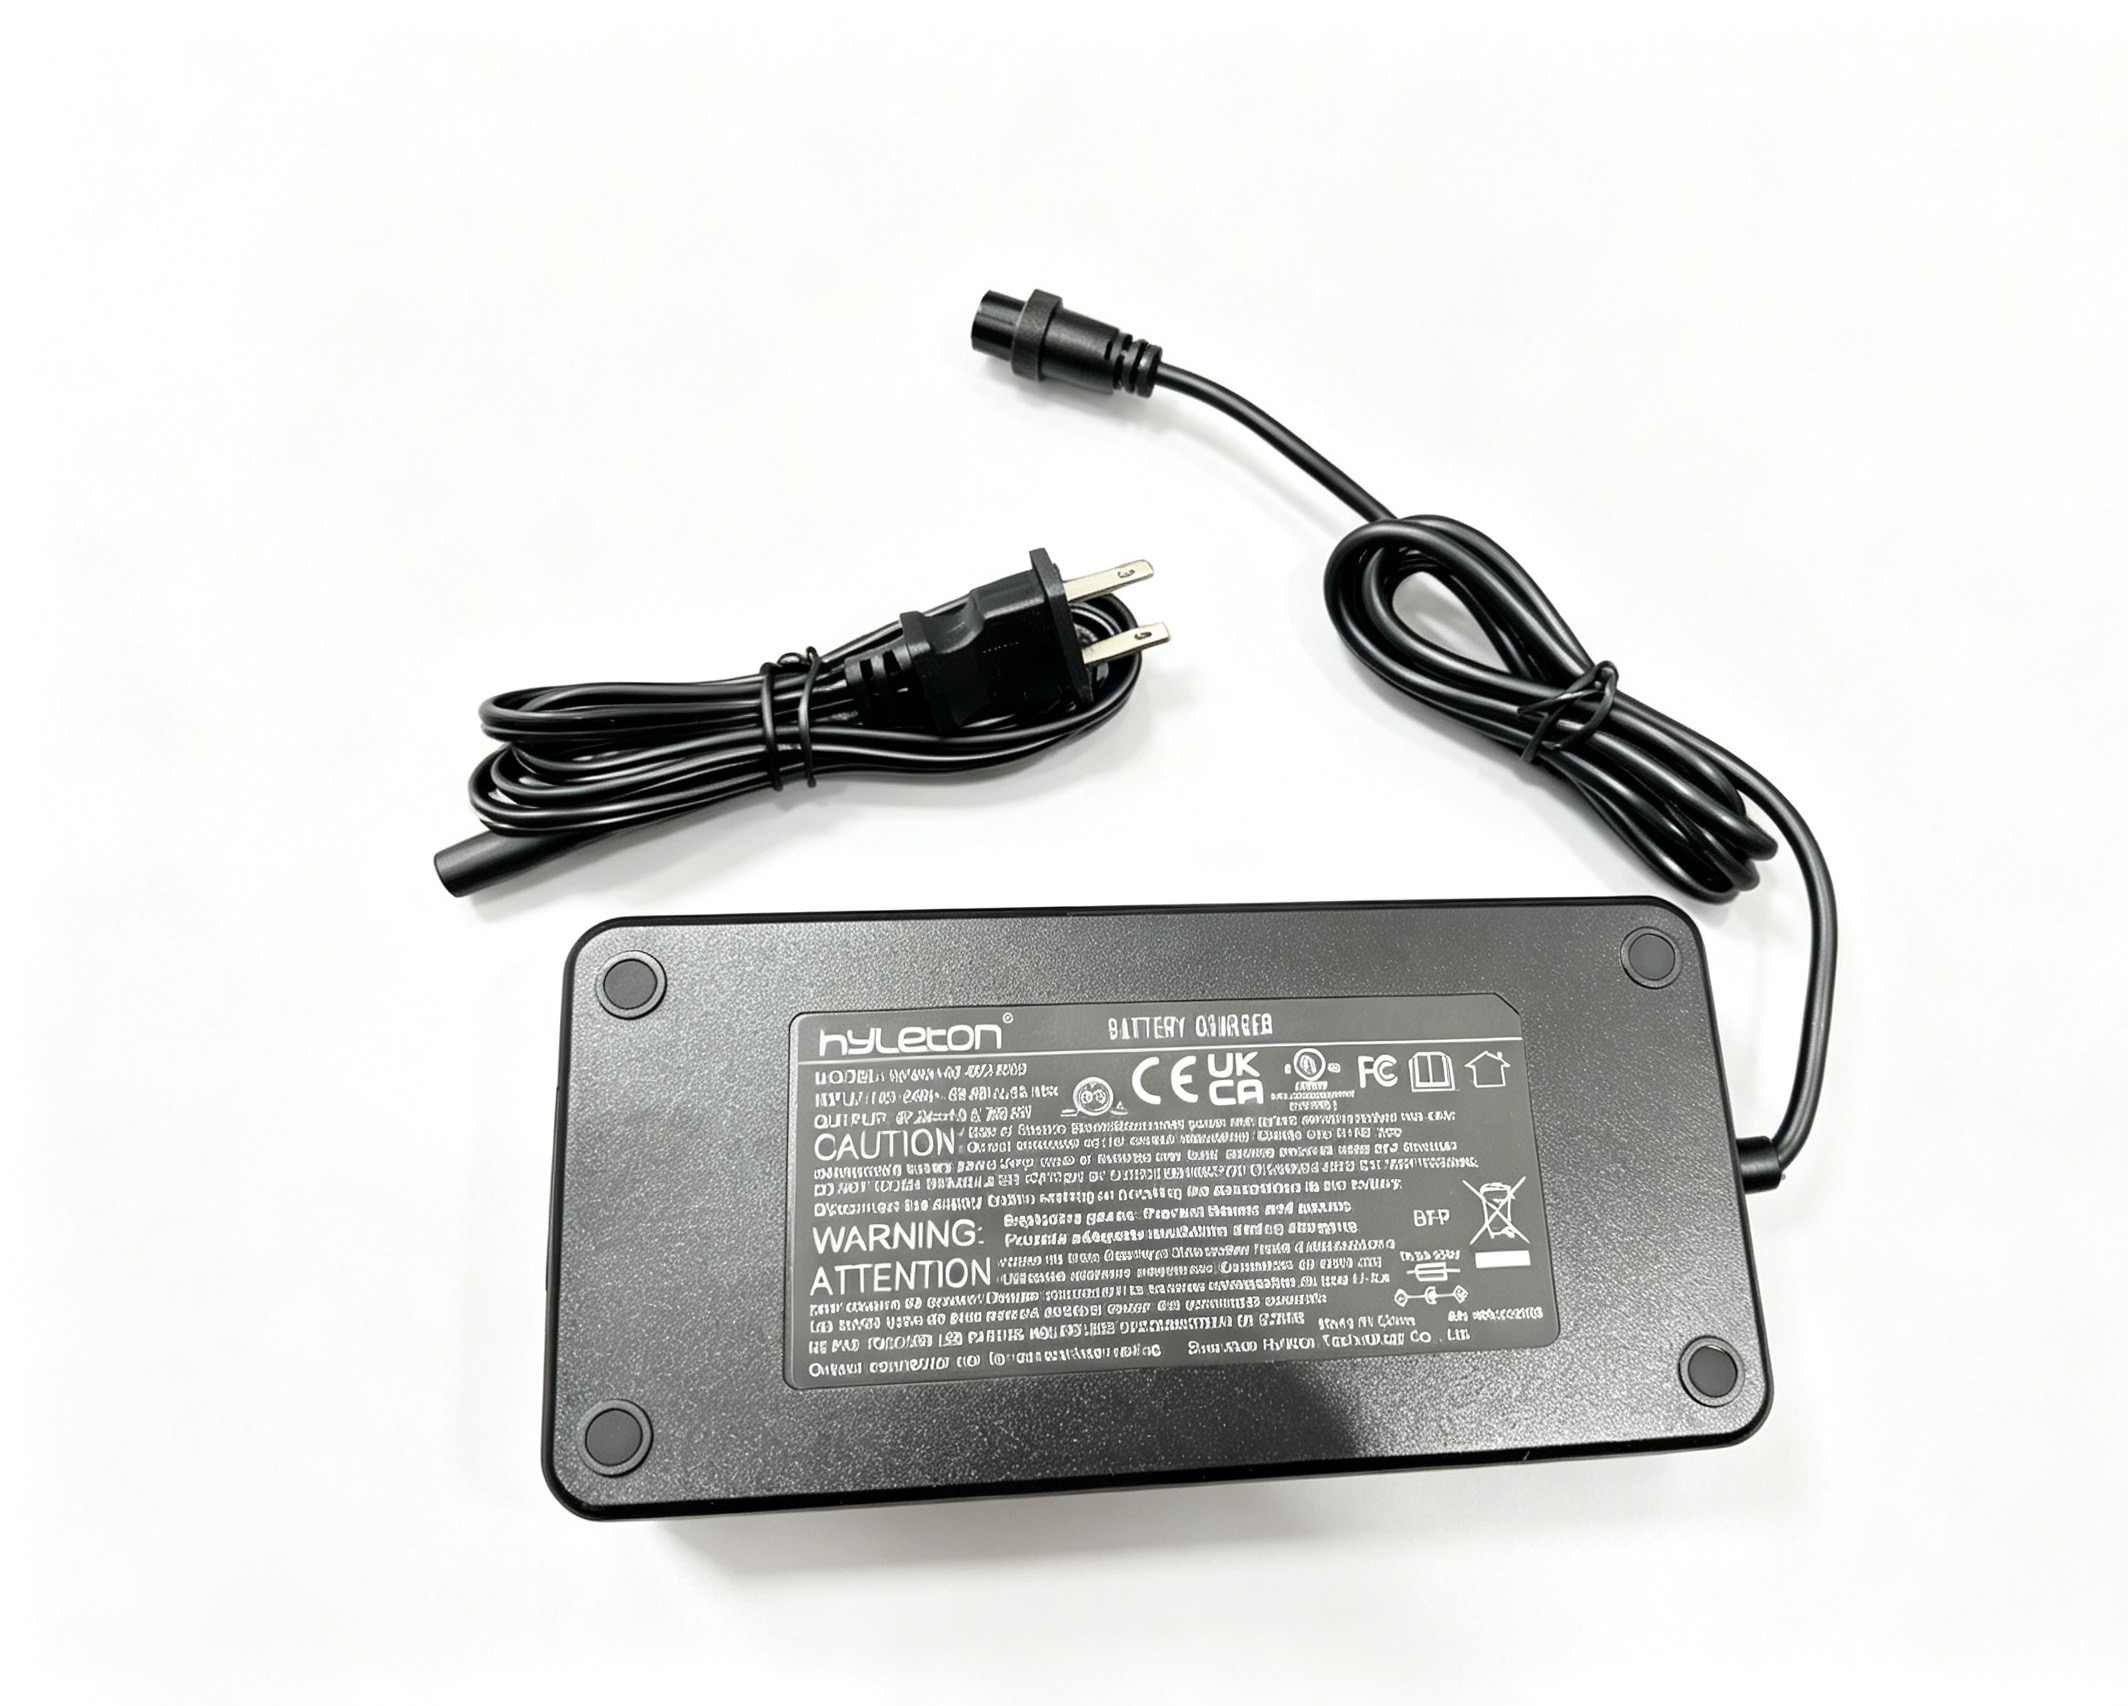
If you read more than 1V below spec, or 0V, the charger is the problem. Replace it — do not try to repair a switching power supply unless you have mains-level electronics experience.
Step 2 — Inspect the Charge Port and Wiring
This is the most commonly overlooked failure point. The charge port on a scooter takes constant mechanical abuse: cable yanked sideways, water ingress, road grit. Look for:
- Bent or recessed center pin — the charger plug won't make contact
- Green corrosion on the pins (a sign of moisture)
- Brown scorch marks around the port — arcing from a loose connection
- Wiggle test: plug in the charger and gently move the connector. If the LED flickers between red and green, the port or the plug is worn.
A replacement charge port runs $8–$15 and takes about 30 minutes to solder in. If you're not comfortable soldering, any e-bike shop will do it for a flat bench fee.
Step 3 — Check the Inline Fuse and Main Discharge Fuse
Most scooters have two fuses: one on the charge circuit and one on the discharge (controller) circuit. A blown charge fuse produces exactly the symptom of "charger stays green." Test it with your multimeter's continuity mode — a good fuse reads near 0 ohms; a blown fuse reads infinite (OL).
Replace with the identical amperage rating. Never upsize a fuse to "stop it blowing" — the fuse is protecting your wiring and BMS.
Step 4 — Measure the Battery Pack Voltage
This is the decisive test. Unplug the charger, remove the deck cover, and measure DC voltage across the pack's main output terminals (B+ and B−).
Compare against nominal:
- 36V pack: 42V full, ~30V empty, under 27V = dangerously over-discharged
- 48V pack: 54.6V full, ~39V empty, under 36V = dangerously over-discharged
- 52V pack: 58.8V full, ~42V empty, under 39V = dangerously over-discharged
If you read 0V on a pack that should have charge, the BMS has likely latched off in protection mode. If you read a very low voltage (say 20V on a 48V pack), you have deeply discharged cells and the BMS is refusing to charge them for safety reasons.
Step 5 — Understand BMS Lockout (The Most Misdiagnosed Fault)
The Battery Management System is a small circuit board inside the pack that monitors cell voltage, temperature, and current. It will deliberately block charging when:
- Any single cell group drops below ~2.5V
- Any cell group rises above ~4.25V
- Pack temperature is below 0°C (32°F) or above 45°C (113°F)
- It detects a short or excessive current draw
Some BMS boards auto-recover once conditions normalize; others stay latched until you disconnect the load for 30–60 seconds. Try this: unplug the charger, switch the scooter off, disconnect the main battery connector for one minute, reconnect, then plug the charger back in. It sounds too simple, but it clears a surprising number of "won't charge" cases.
Step 6 — Cold Weather Charging Problems
If you're troubleshooting in late autumn or winter, temperature is a prime suspect. Lithium-ion cells cannot safely accept charge below 0°C — the BMS will block it, and forcing a charge can cause permanent lithium plating inside the cells. If your scooter has been stored in an unheated garage overnight, bring the battery indoors, let it sit at room temperature for 2–3 hours, then try charging again. Never charge a frozen pack.
Step 7 — Cell Group Imbalance
If the charger runs red for 8+ hours and never turns green, one cell group is probably weaker than the rest. The BMS stops charging when the strongest group hits 4.2V, leaving the weak group stranded at 3.6V. Over time the pack loses usable capacity and eventually triggers low-voltage cutoff early.
Diagnosing this requires opening the pack and measuring each series group with a multimeter — a job best left to a battery specialist, since a mistake here can short a 48V pack with hundreds of amps of available current. If your pack is more than 3 years old and showing 30%+ capacity loss, replacement is usually more economical than repair.
When to Repair vs. Replace the Battery
Use this simple decision framework:
- Charger reads out of spec → replace charger ($25–$60). Always worth it.
- Charge port damaged → repair ($10–$40). Always worth it.
- Blown fuse → replace ($2). Always worth it.
- BMS latched but cells measure balanced and above 3.0V → reset or replace BMS ($30–$80). Usually worth it.
- One or more cell groups below 2.5V, or pack is 3+ years old with heavy capacity loss → replace the pack. Repair risks fire.
One more consideration: if you're spending $150+ on a pack for a scooter that cost $400, it's often smarter to put that money toward a newer model with a fresh, warrantied battery. Scooters like the Zwheel ZSA Plus (800W, $499) or the Zwheel D3S-S (1000W, $600) deliver modern BMS protections and cell quality that eliminate many of these failure modes in the first place.
Prevention: How to Avoid Charging Problems Entirely
Follow the 20–80 Rule
For daily commuting, keep your pack between 20% and 80% state of charge. Full charges to 100% should be reserved for the night before a long ride. This single habit can double your pack's cycle life — from roughly 500 cycles to 1,000+.
Store at the Right Voltage
If you're putting the scooter away for the winter, charge to 50–60% (about 46–48V on a 48V pack) and check it every 6–8 weeks. Never store a pack at 0% — it will self-discharge into the danger zone and the BMS will lock out permanently.
Charge in a Dry, Temperature-Controlled Space
Moisture is the number one killer of charge ports. If you must charge outdoors, use a covered area and dry the port with compressed air afterward.
Don't Leave It Plugged In for Days
Once the LED turns green, unplug within a few hours. Continuous float charging accelerates cell degradation and stresses the BMS.
Inspect the Charger Cable Monthly
Look for kinks, exposed copper, or a loose barrel connector. A $30 charger that fails mid-charge can damage a $400 battery.
If you're shopping for a scooter with robust battery management from the start, models in the Zwheel ZSB2 range (1500W, $650) use higher-grade BMS boards with temperature and cell-balancing protection built in — which means fewer of the headaches described in this article.
Safety Warnings You Should Not Ignore
- Never open a swollen or punctured pack. A puffed lithium cell can vent and ignite. Take it to a hazardous waste facility.
- Don't charge a pack that reads 0V and smells sweet or chemical. That's electrolyte vapor.
- Use only the charger that came with your scooter or one with identical voltage and connector polarity. Reversed polarity instantly destroys a BMS.
- Charge on a non-flammable surface, away from curtains and carpets, ideally in a room with a smoke detector.
Frequently Asked Questions
Why is my electric scooter charger staying green and not charging?
A green LED with no charging usually means the charger isn't detecting the battery. The three most likely causes are a blown charge fuse, a damaged or corroded charge port, or a BMS that has entered protection mode. Test the fuse with a multimeter first — it's the fastest and cheapest check.
How do I reset my scooter's BMS?
Turn the scooter off, unplug the charger, and disconnect the main battery connector for 30–60 seconds. Reconnect, then plug the charger back in. On most scooters this clears a latched protection state. If it re-latches immediately, there's an underlying fault — usually a weak cell group or a short.
Can I charge my electric scooter in cold weather?
Not below 0°C (32°F). Lithium-ion cells cannot accept charge safely at freezing temperatures, and the BMS will block it. Let the battery warm to room temperature for 2–3 hours before charging. Charging a frozen pack can permanently damage the cells through lithium plating.
How long should an electric scooter battery take to charge?
As a rule of thumb, divide the battery's watt-hours by the charger's output wattage. A 48V 13Ah pack (624Wh) on a 2A 54.6V charger (about 109W) takes roughly 6 hours. If your scooter is charging far longer than that and the LED never turns green, suspect cell imbalance or a failing charger.
Is it worth replacing the battery or should I buy a new scooter?
If the pack is under 3 years old and the fault is a fuse, port, or BMS, repair. If the pack is 3+ years old with significant capacity loss, or multiple cell groups are below 2.5V, replacement is the safer choice. And if a new pack costs more than a third of the scooter's original price, a newer model with a warrantied battery is often the smarter long-term buy.
The Bottom Line
When your electric scooter battery not charging issue appears, resist the urge to assume the worst. Work through the sequence: outlet, charger output voltage, charge port, fuses, pack voltage, BMS reset, and temperature. In most cases you'll find the fault within the first three steps and fix it for under $40. If you do reach the point of genuine cell failure, be honest about the economics — a scooter with a fresh, well-managed battery is safer and often cheaper than chasing a dying pack.
Keep your charger clean, your pack between 20% and 80%, and your scooter out of freezing storage, and you'll rarely see this problem at all.
Geschrieben von
Zwheel Team
Teil des Zwheel-Redaktionsteams mit Fokus auf E-Mobilität, Produktleitfäden und Fahrtipps.